So, I know there are a million tutorials out there for a board and batten mudroom wall but I thought I’d still post my how to. This was my first real DIY project that would be semi permanent and I couldn’t just take it off the wall because it didn’t turn out well. I am planner, type A personality and it needed to be as perfect as possible. I made multiple sketches trying to decide what exactly I/we needed in the mudroom/laundry room. After lots of drawings and pinteresting (that’s a word, right ?) I had finally decided what to do and how it would look.

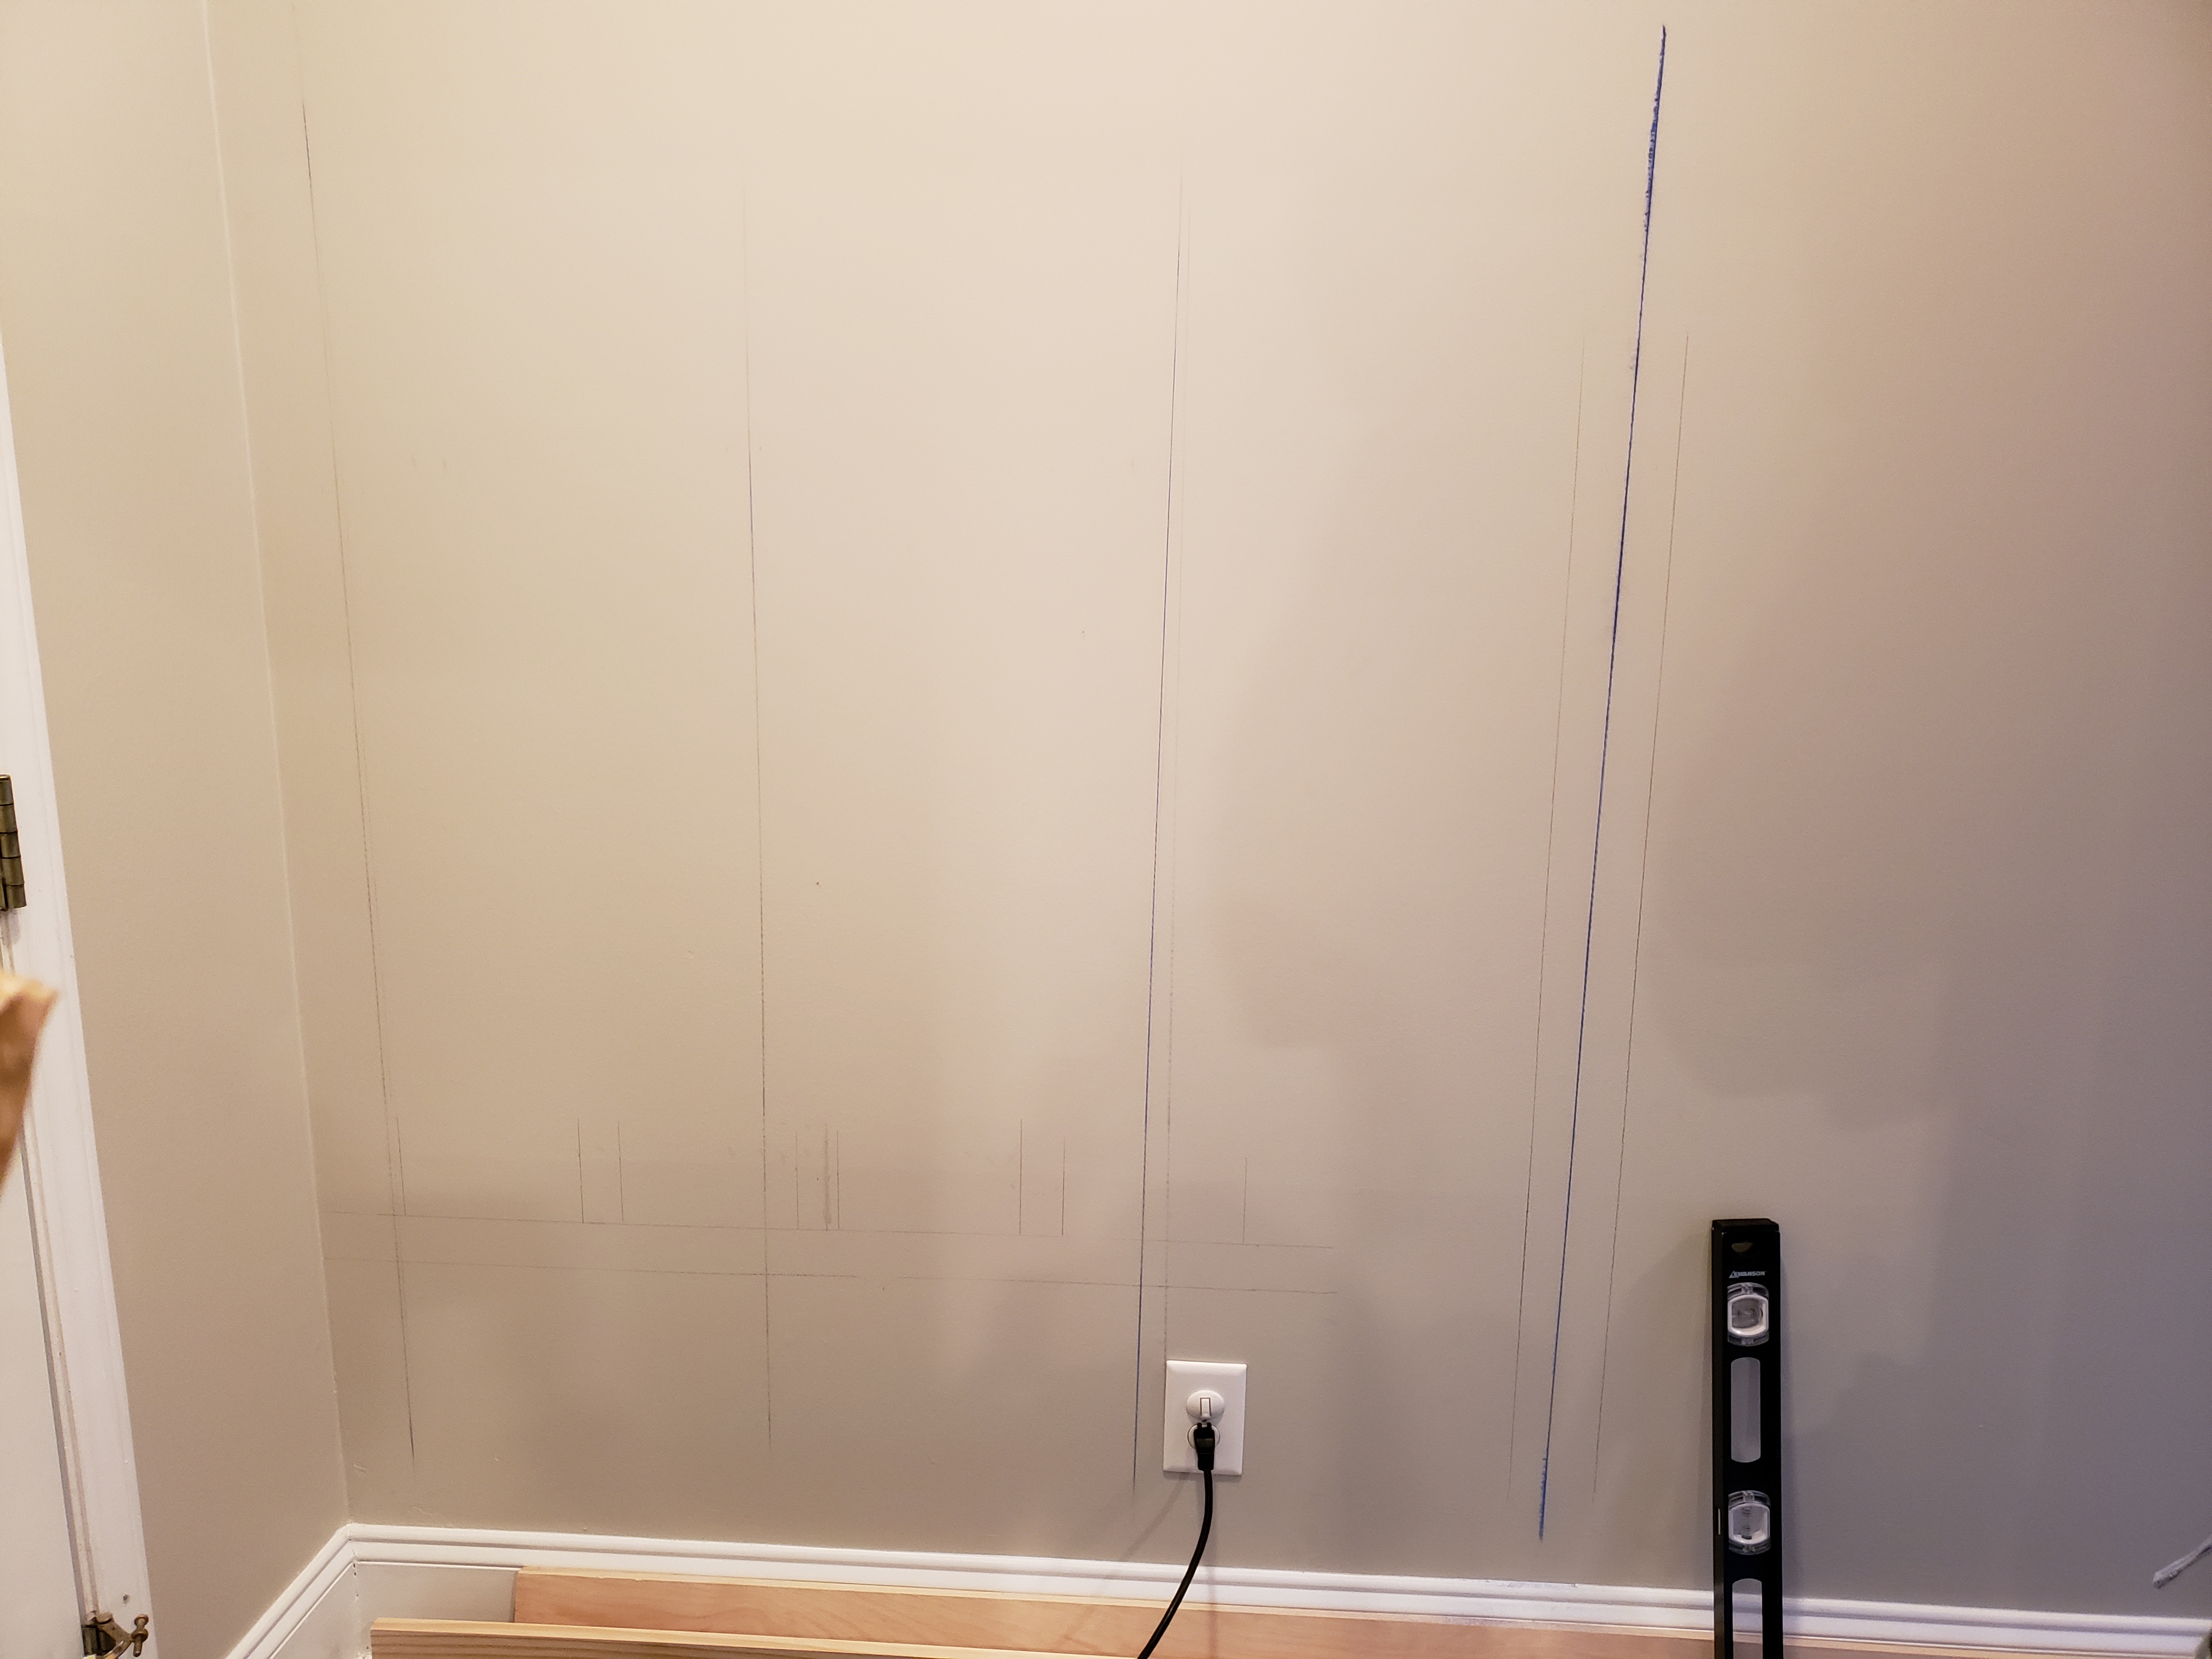
First I made a chalk line on each of the studs since that was were my vertical pieces would be going. If you have a wall outlet like I do then that is an easy starting point since an outlet is always attached on the side of a wall stud. From there I used my stud finder to find the other 3 and then measured that they were 16 inches apart. Then I had to decide how tall I wanted the coat hooks to be. It wasn’t by any science or math. I grabbed a coat and held it up and decided it was a manageable height for myself and my husband. I then had my 6 year old do the same for the lower hooks since they would be using these for their backpacks and their coats. Now came the fun part…buying the supplies !
Here’s what you’ll need:
- 3- 4x6x1
- 1- 6x6x1
- 4- 3x6x1
- 1- 2x6x1
- 1- 2x6x2
- miter saw
- nail gun
- nails
- liquid nails
- caulk
- wood filler
- level
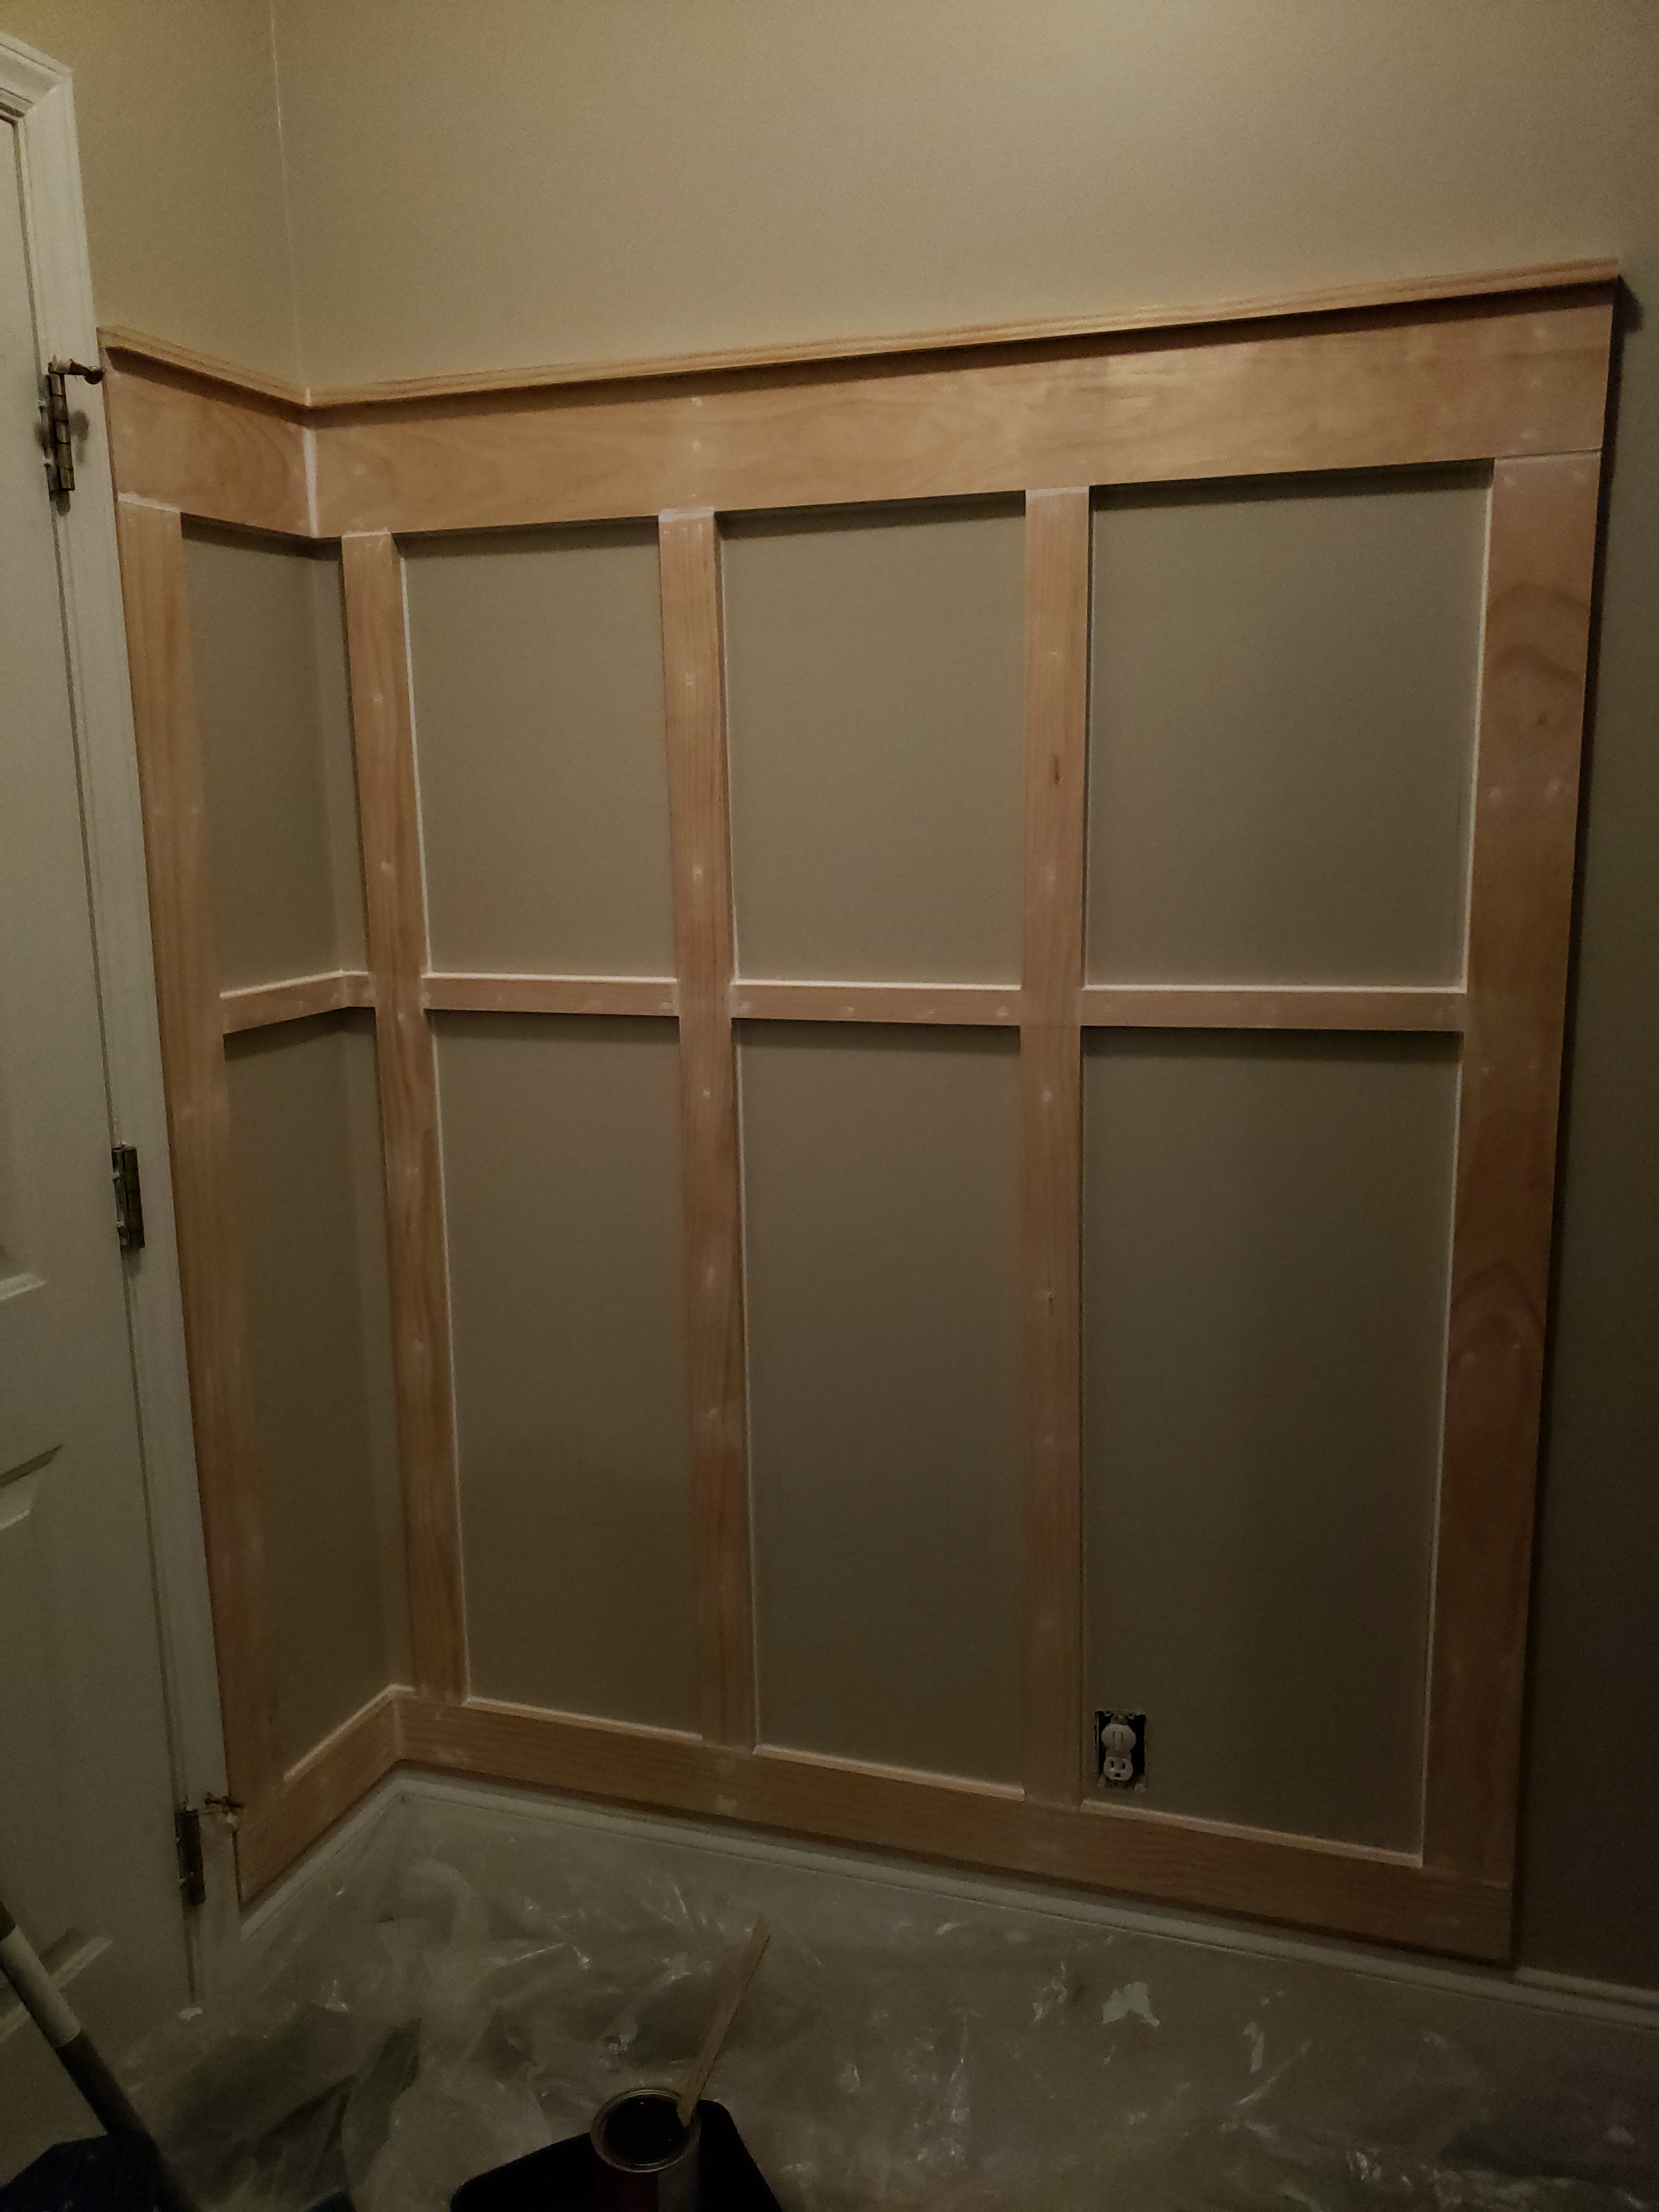
First I measured the length for the bottom piece, cut it and then put liquid nails on the back of the board using my 2x6x1 for a spacer and support on the bottom I nailed it to the wall. I used my chalk lines as a reference for where the studs were and placed 2 nails along each stud. Next, I measured my 6x6x1 for the top of the frame and made sure that it would be level with the bottom piece i just placed. Then same process I put a long zigzag bead of liquid nails along the back, made sure it was level, placed on the wall and nailed it where each stud was. Next I did the left and right vertical pieces. Once all my edge pieces were done it was time to do the vertical pieces on each stud. I measured each vertical piece individually and still did a long bead of liquid nails just for extra support before nailing them in. Once all your vertical pieces are in place then it’s time to do the horizontal spacers that will also be used as your second row of hooks. Again, measure each one individually before cutting. Since there would be no stud behind these pieces to nail into I made sure it got a good amount of glue without spilling out the sides because well kids can be destructive and I’d like this to last. Once I was all finished framing it out it didn’t quite look complete so that’s when I went out and bought a 2x6x2 for a decorative finished look to the top. I cut it to length and nailed it every 8-10 inches on top of my 6x6x1 and it made it look so much better!

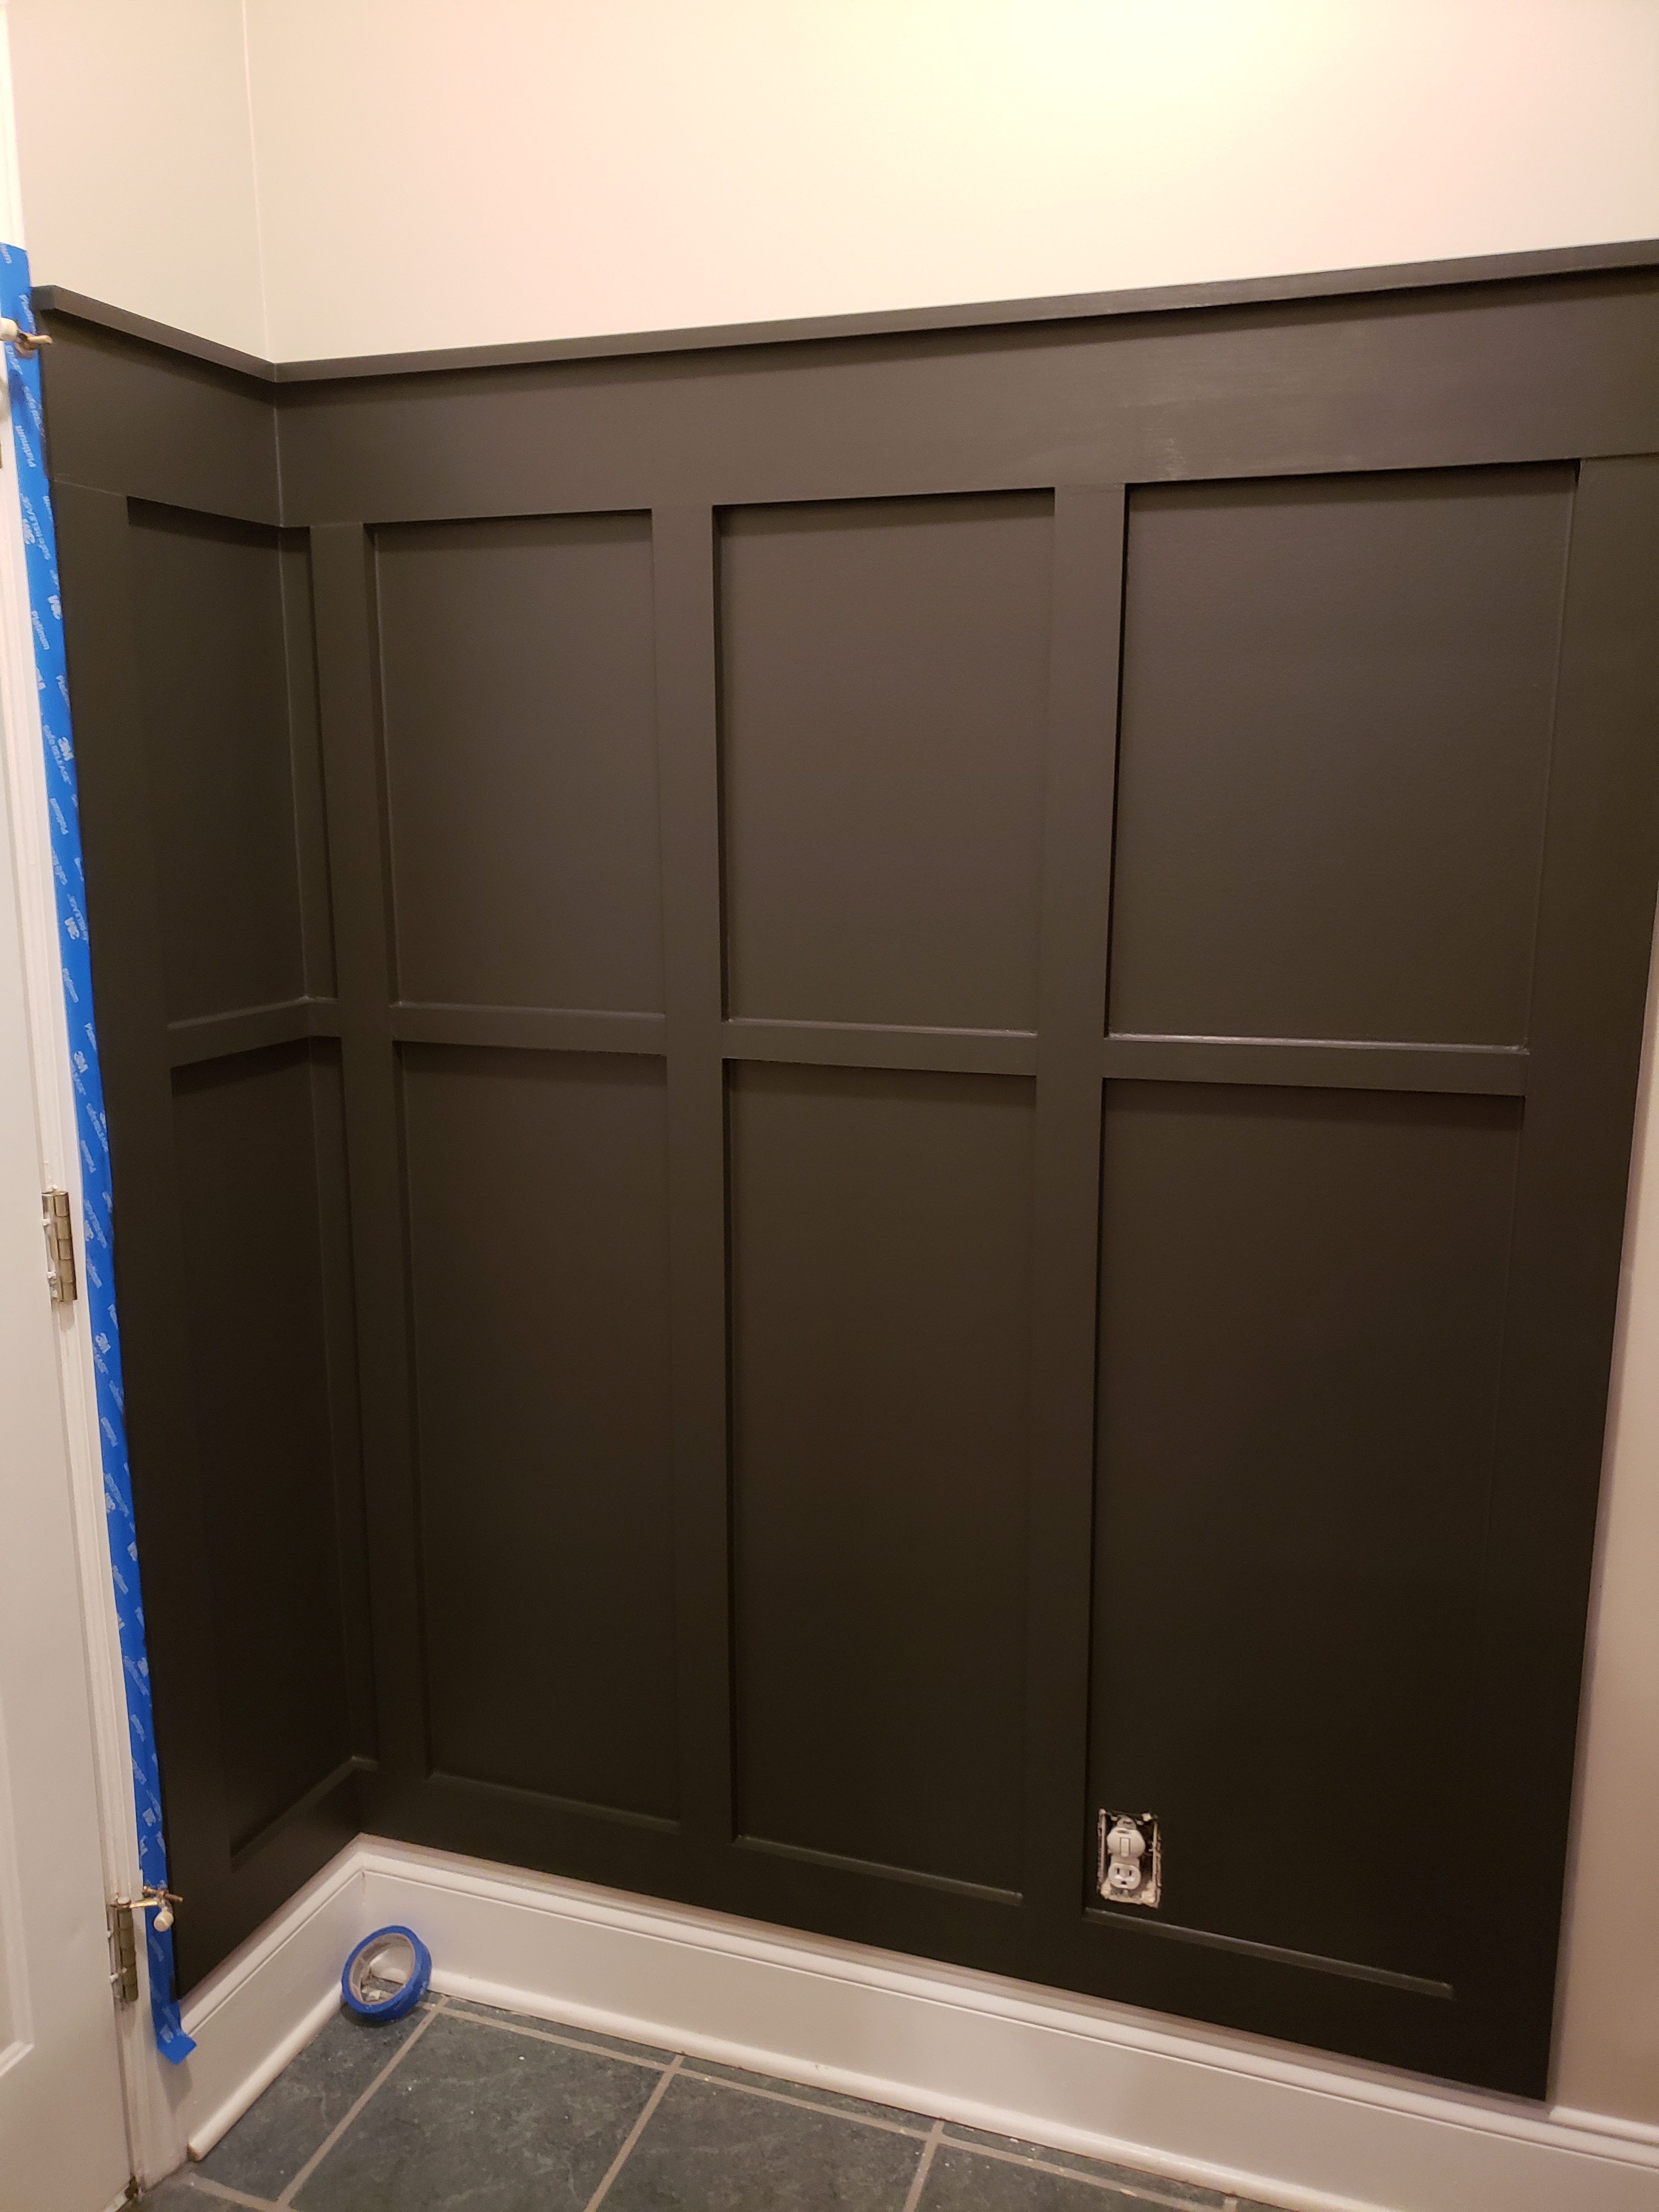
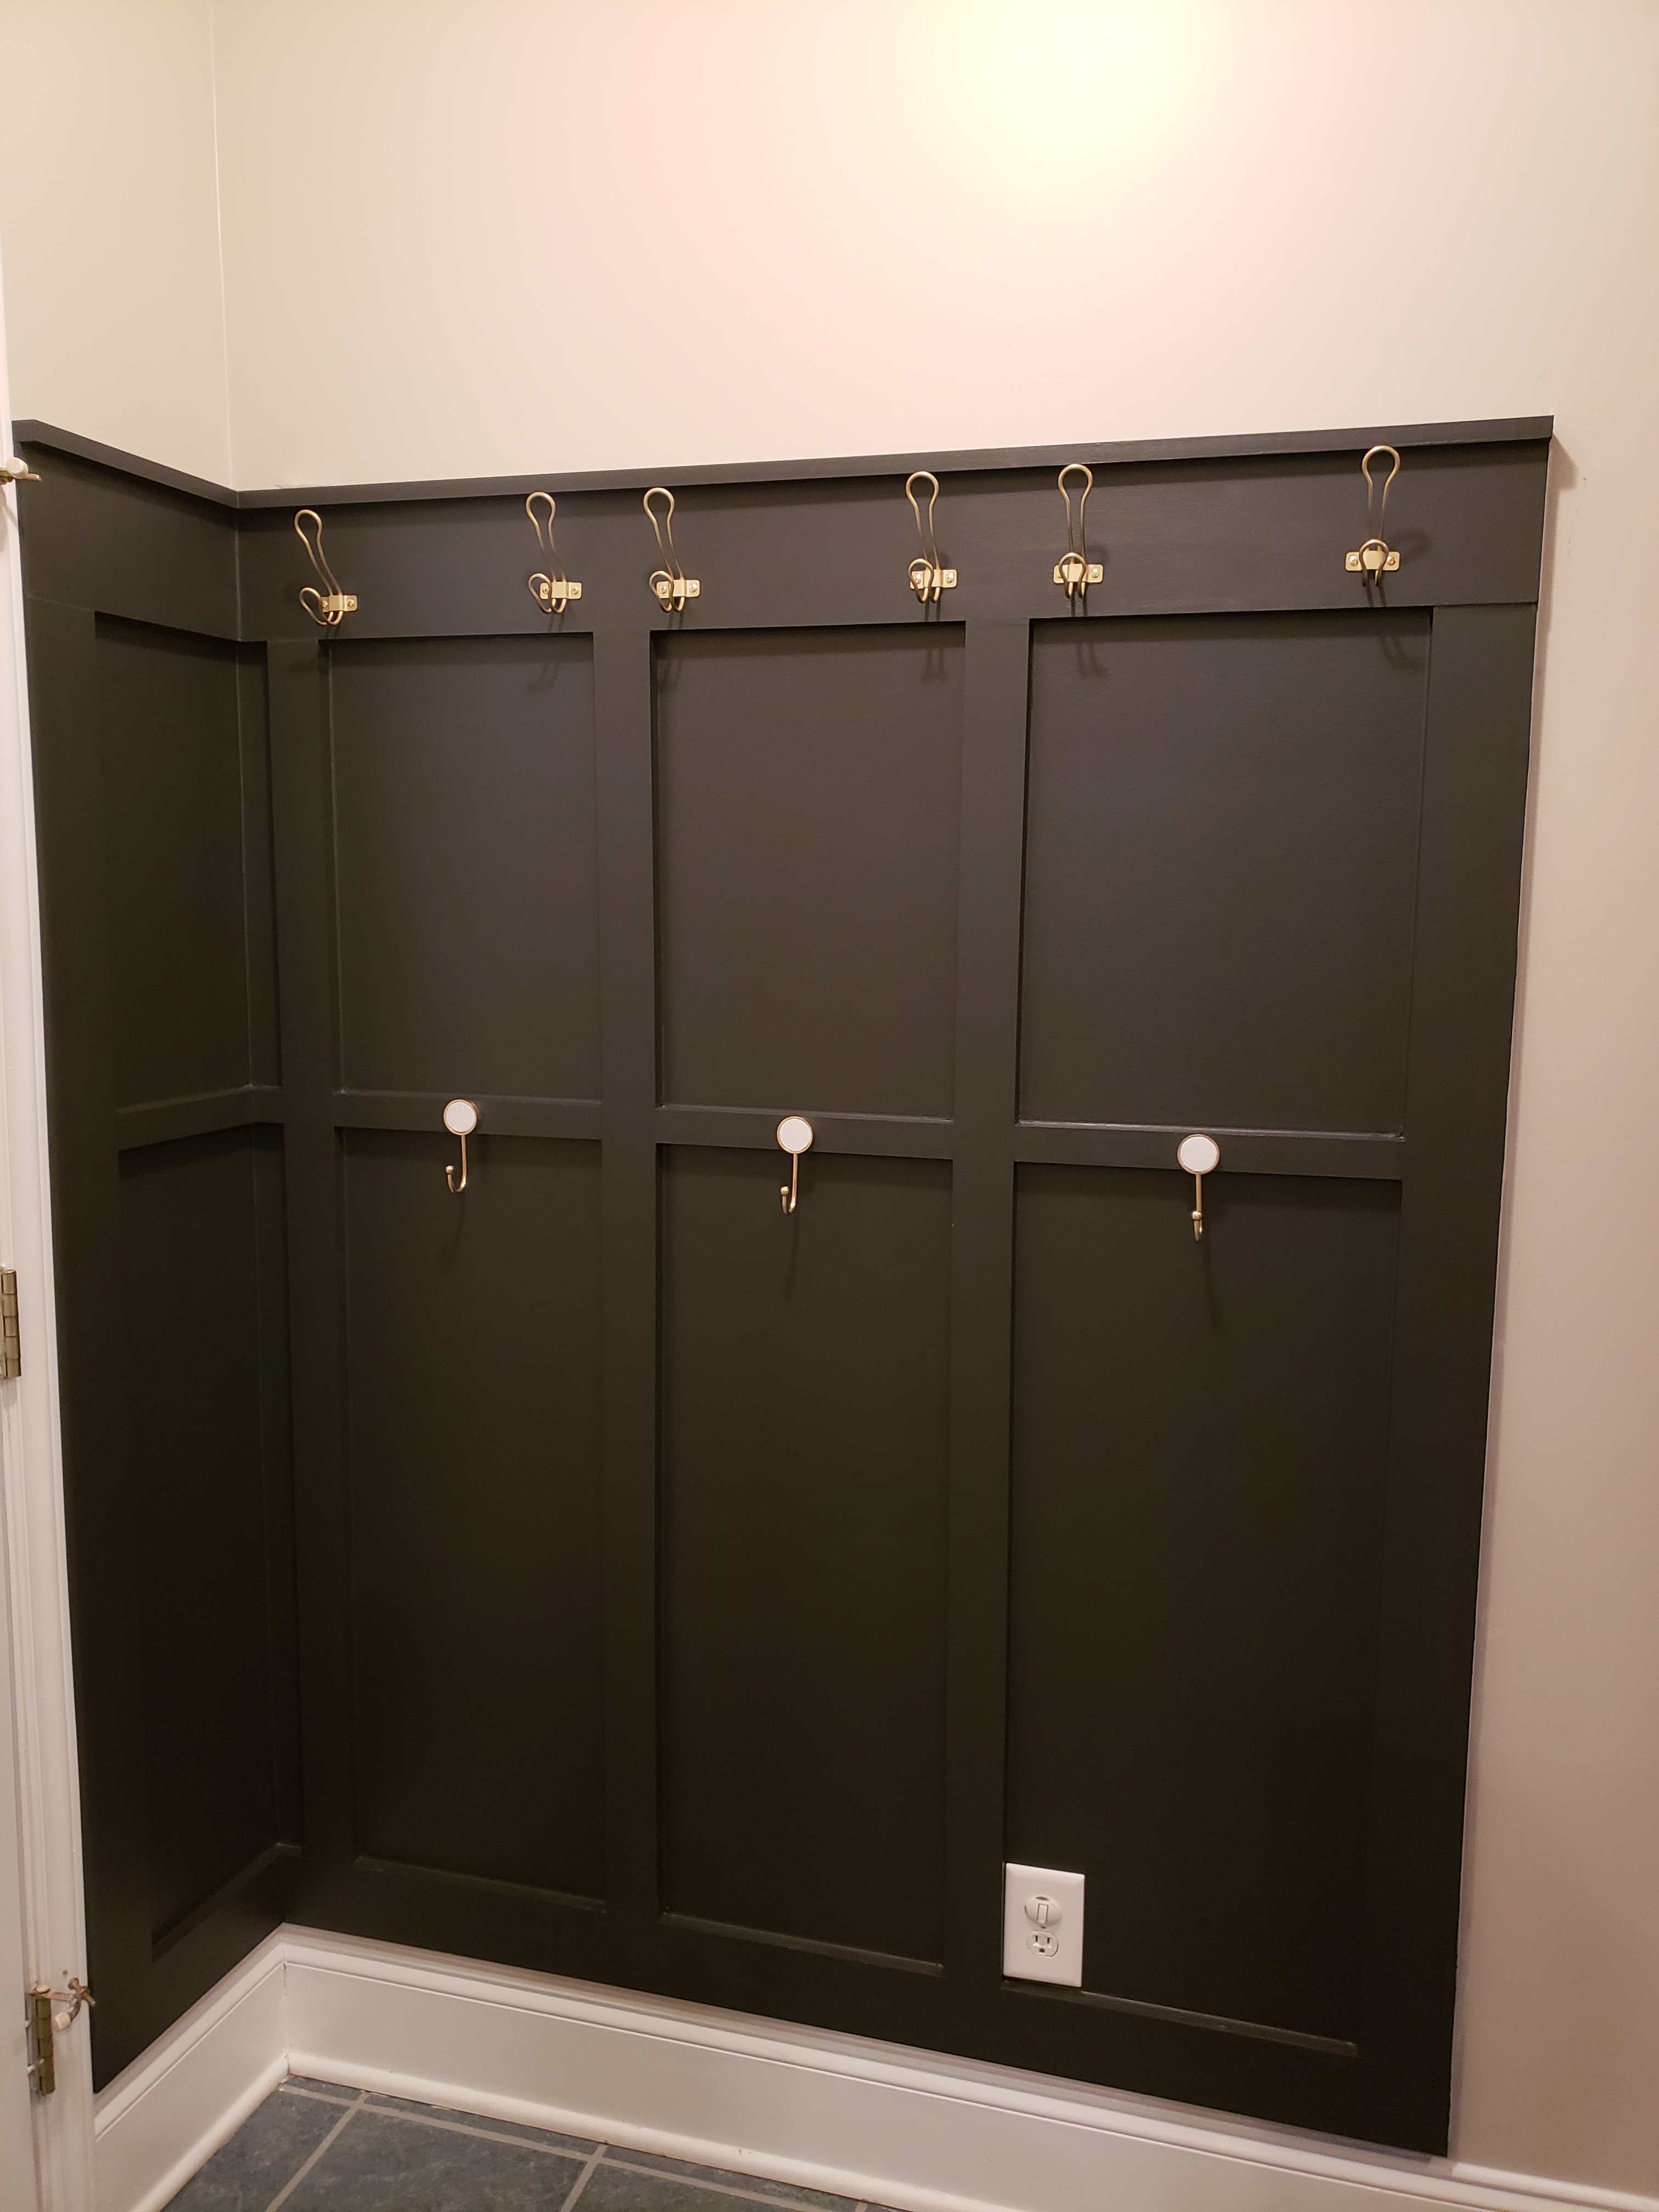
Once all your wood is on the wall it’s time to caulk and fill in the nail holes. I love using this handy tool for getting a perfectly smooth finish along each seam. I cut my tip where it shows 1/4 of an inch on the caulking tube and using a caulk gun I placed a bead along the inside seams where the wood and wall met, then scrape off the remainder to get a smooth finish. You’ll have some caulk come off each time and I usually put it in a paper bathroom cup just in case later I need to fill anywhere in and I can use the leftover in the cup. Also, keep a damp towel with you so you can clean your tool each time. After the inside was complete I also caulked the top and right side (didn’t need to do the left because it bumped up to my door frame). After all your caulking is complete then it’s time to use your wood filler to fill in all the nail holes and to smooth out any areas where wood touches wood that might not be perfect. Be sure to scrape off the excess wood filler before letting it dry. After it’s dry, sand over the wood filler to give it a smooth finish. I took a very damp washcloth and wiped down the entire wall so it would be free of dust before I painted and vacuumed the entire area. The last thing you want is dust while your painting your hard work. Last step-PAINT and Hooks !! I painted it Sherwin Williams Iron Ore and finished it with brass coat hooks from home depot and these from target. I absolutely LOVE LOVE LOVE the way it turned out.


It took me a few days to finish this project because well 3 little kids and a full-time job but you can definitely get this done in 1 day (minus the hanging of the hooks). I did it all by myself exect for the couple of times I needed my husband to hand me the nail gun or hold up the wood for a moment while I nail. So, if you plan to do this alone at least have a helping hand that you can yell at from across the house :).
A couple of tips I have is if you plan to put one of your pieces up against the door frame then rip away the caulk from the area that your piece of wood will go up against that way you don’t have a slight gap and your wood can rest snug up against the door frame. The other is buy some shims or make some from your spare pieces of wood. Not all walls are straight and level. Mine had a slight curve in so when I put my vertical piece up against my horizontal piece my vertical sunk in slightly….so, I made myself a little shim so it would be level with the horizantal piece. Since you plan on caulking you’ll never see it.
For my first Diy project in this house I’m super happy the way it turned out. It wasn’t that hard to do just a bunch of little steps. My husband loved it so much that he wants to do our ENTIRE master bedroom….uhhh not sure if ready for all that but we shall see!